こんにちは、メケです。
ServiceNow のDynamic Translation というプラグインを使用すると様々な言語で記載された内容を、ユーザーが使用する言語に変換することが可能となります。
このページではServiceNowにてGoogleが提供するGoogle Cloud Platform の翻訳サービスを使用するための設定手順を解説していきます。
- ServiceNowにてGoogle Cloud Platformの翻訳サービスを使用したい方
- ServiceNowが導入されている企業で働いている方
- ServiceNowを今後導入検討されている方
- 多国籍の方がServiceNowを使用している企業の方
- プログラミングなし(ノーコード)で翻訳機能を取り入れたい方
この記事を読むことで、Google Cloud Platformを使用した翻訳サービスを使用することができ、職場で使用しているServiceNowを使用したシステムをより使いやすいものにすることができます。
前提条件
このページでは以下の設定が行われている前提で記載しています。
- Service Now Dynamic Translationプラグインインストール
- GoogelCloud Platform の設定
ServiceNow:Dynamic Translator プラグインインストール
ServiceNowのDynamic Translationという動的翻訳用のプラグインのインストール方法は以下で紹介しておりますので、まだの方は下記を参照して下さい。

Google Cloud Platform の設定
Google Cloud Platformでの翻訳サービスについての設定手順は以下で紹介しておりますので、まだの方は下記を参照して下さい。

ServiceNowでの各種設定
ServiceNowにログインし、 Google Cloud Platformでの翻訳サービスと連携するための各種設定をしていきます。
X.509 Certificates
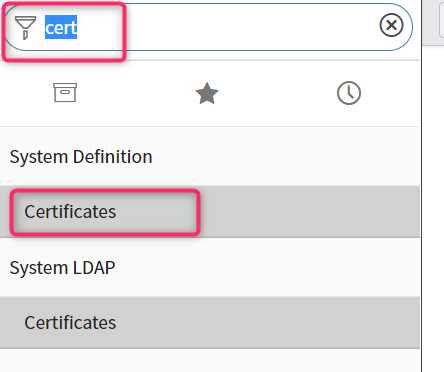
フィルターナビゲーターに”cert”と入力します。
[System Definition] ▶ [Certificates] をクリックします。
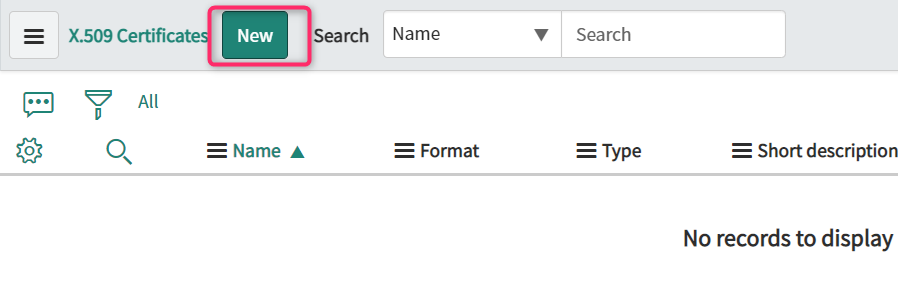
X.509 Certificatesの画面が表示されるので New ボタンをクリックします。
jksタイプのレコードを作成
以下のように設定が必要な項目を設定します。
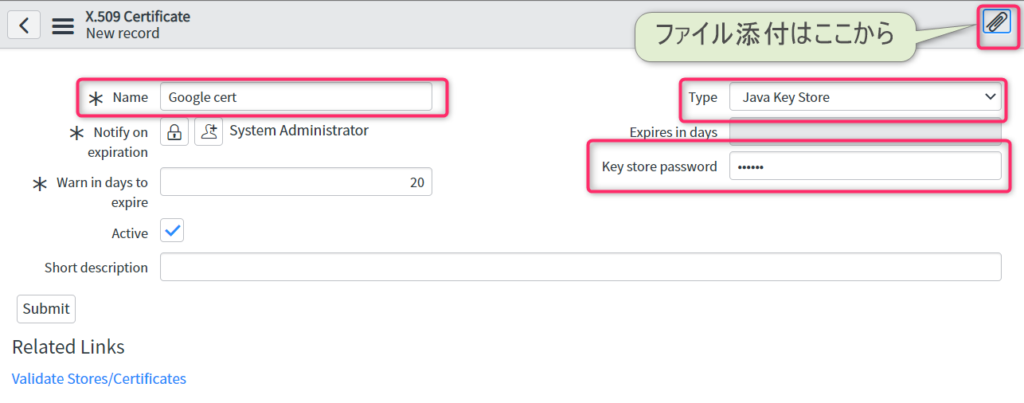
- [Name]:Google cert ※任意の名前でOK
- [Type]:Java Key Store
- [Key strore password]:「出力先キーストアのパスワード」で設定したもの
※出力先キーストアのパスワードがわからない方はコチラに戻って確認してみて下さい。
jksファイルの添付
右上のクリップアイコンをクリックしてファイル添付を行います。
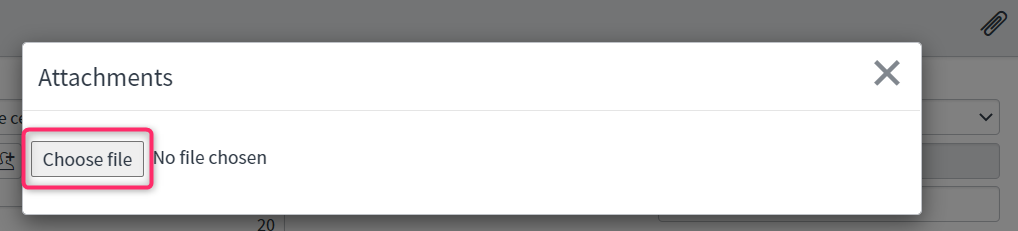
以下のような画面がでてくるため、[Choose file]を選択して下さい。
作成した、.jksファイルを指定します。
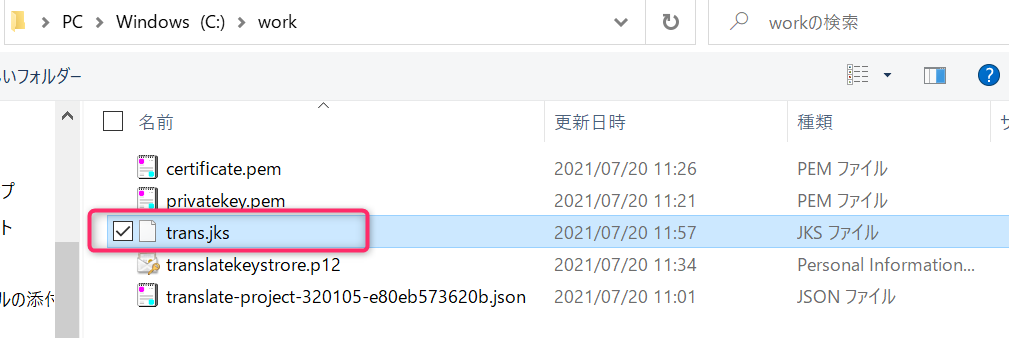
※jksファイルがわからない方はコチラに戻って確認してみて下さい。
以下のようになれば、右上の✖で閉じて大丈夫です。
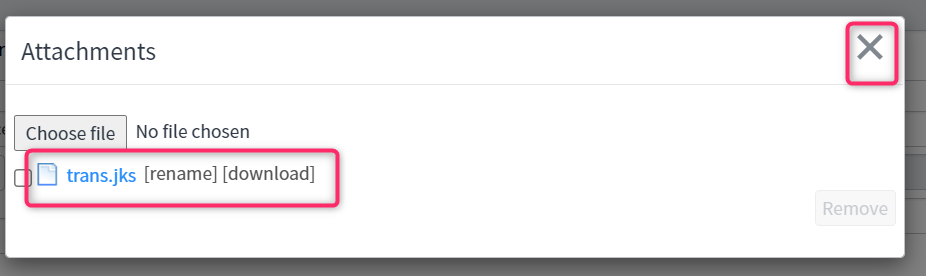
最終的にはこんな感じになります。

[Submit]ボタンをクリックします。

JWT Keys
[フィルターナビゲーター]に”JWT”と入力します。
[System OAuth] ▶ [JWT Keys] をクリックします。
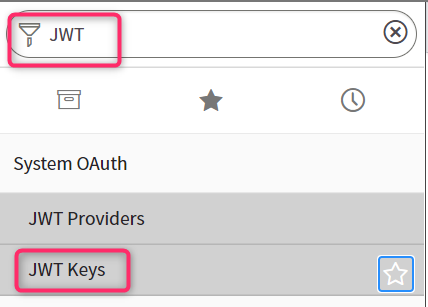
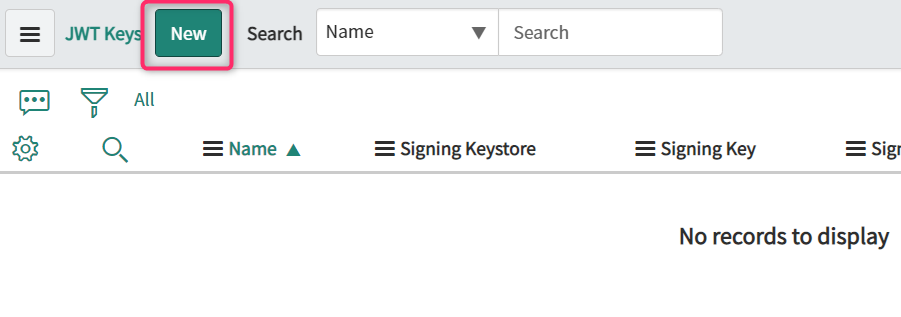
[JWT Keys]の画面が表示されます。
「New」ボタンをクリックします。
それぞれの設定値は以下のようにします。
- [Name]:google
- [Application]:Google Cloud Translator Service Spoke ★
- Signing Keystore:Google cert
- Signing Algorithm:RSA 256
- [Signing Key]:「.p12証明書ファイル」を作成した時のパスワード
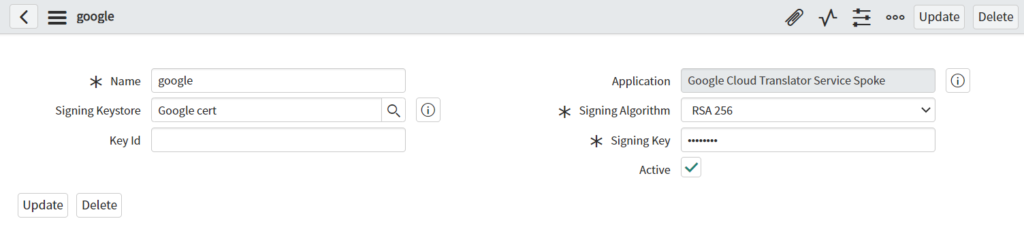
[Update]ボタンをクリックします。
JWT provider
[フィルターナビゲーター]に”JWT”と入力します。
[System OAuth] ▶ [JWT Providers] をクリックします。
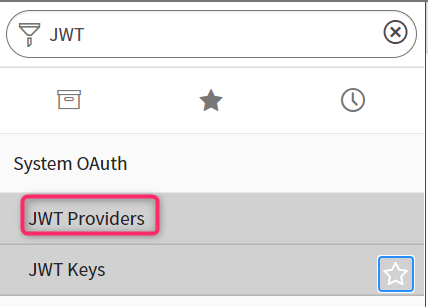
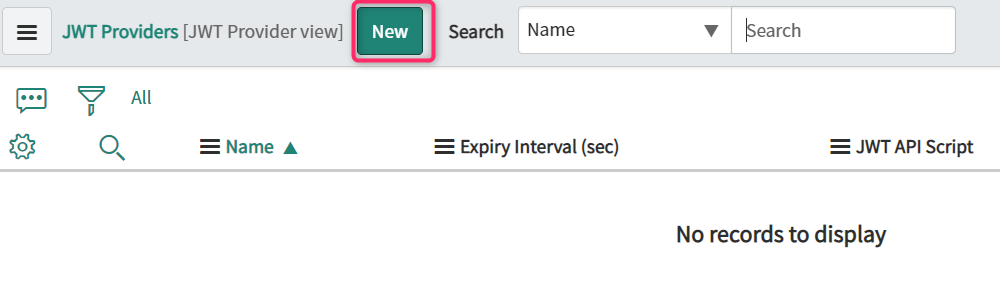
[JWT Providers]の画面が表示されます。
Newボタン をクリックします。
それぞれの設定値は以下のようにします。
- [Name]:Google JWT provider
- [Signing Configuration]:google (JWT Keysで作成したもの)
Saveします。
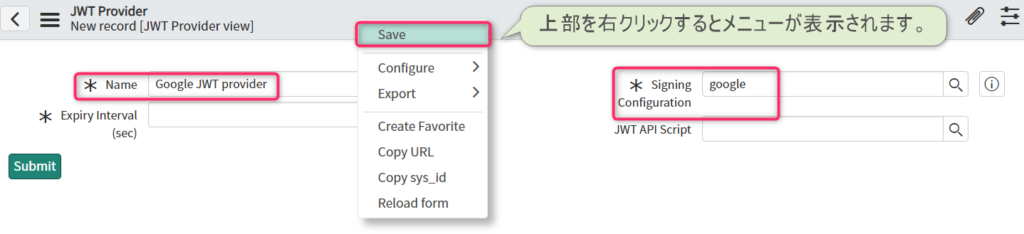
ServiceNowではボタンによって画面遷移が異なります。
・Update:保存後に前画面に遷移
・Save :保存後に自画面再表示
StandardClaimsタブ
Saveした後は、画面下部にStandardClaimsタブが表示されます。
まず”aud”の[Claim Value]を設定します。一覧上でダブルクリックすると入力することができます。
- [Claim Value]:https://www.googleapis.com/oauth2/v4/token

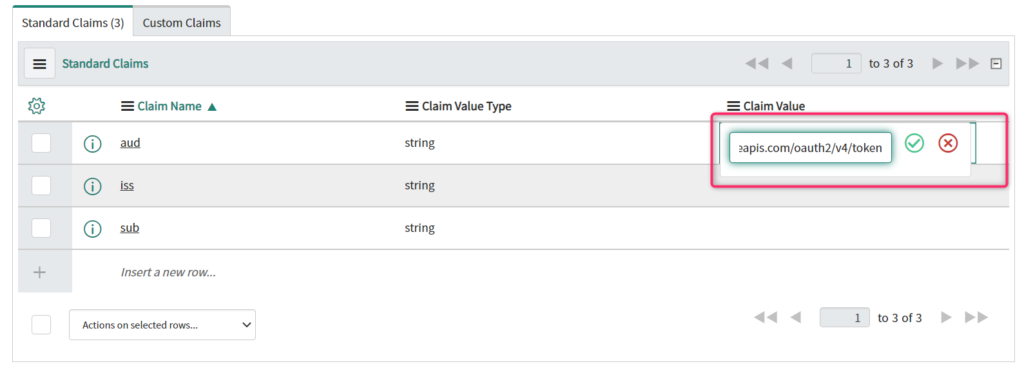
続けて”iss”も同様に[Claim Value]の設定をします。
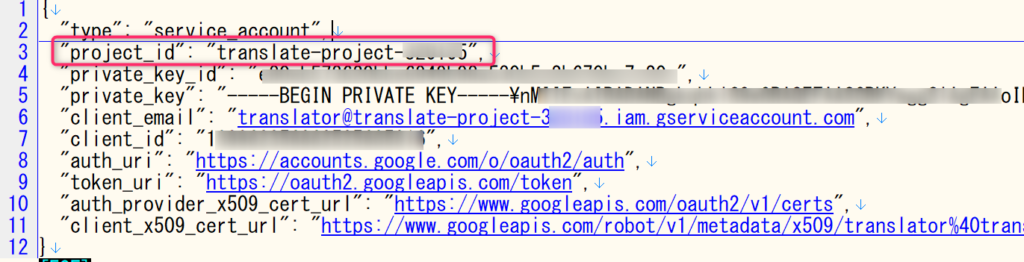
- [Claim Value]:client_emailを指定します。
- 例:translator@XXXX.iam.gserviceaccount.com
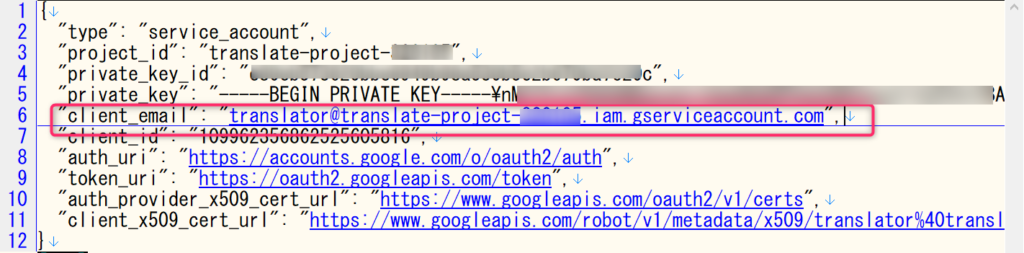
※client_emailがわからない方はコチラに戻って確認してみて下さい。
”sub”は特に設定せずそのままでOKです。
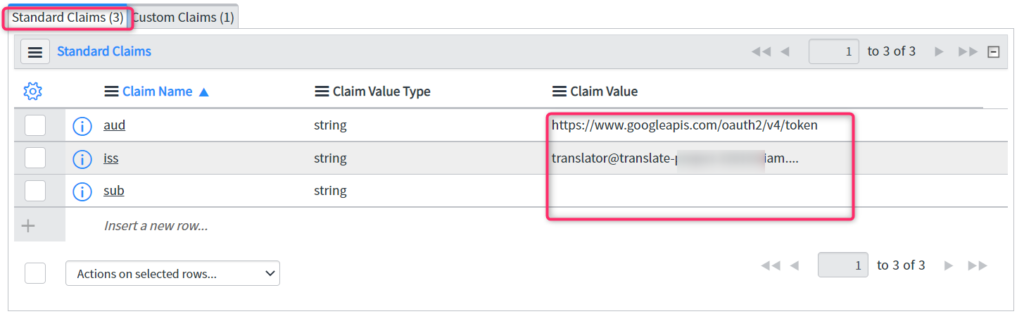
Claim Valueの値は以下
- [aud]:https://www.googleapis.com/oauth2/v4/token
- [iss]:client_email
- [sub]:(設定不要)
CustomClaimsタブ
CustomClaimsタブに移動します。
以下を設定します。
- [Claim Name]:scope
- [Claim Value]:https://www.googleapis.com/auth/cloud-translation
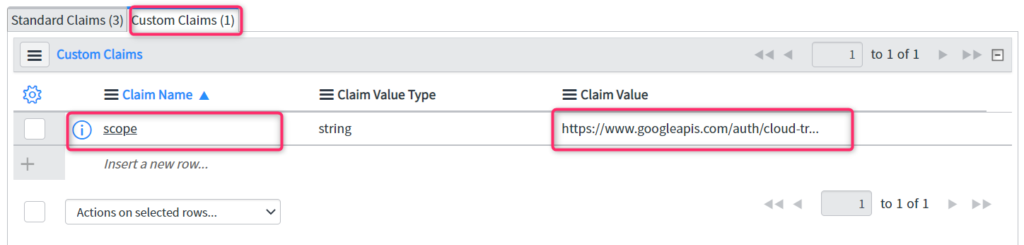
[Update]ボタンをクリックします。
Connection & Credential Aliases
[フィルターナビゲーター]に”cred”と入力します。
[Connection & Credential] ▶ [Connection & Credential Aliases] をクリックします。
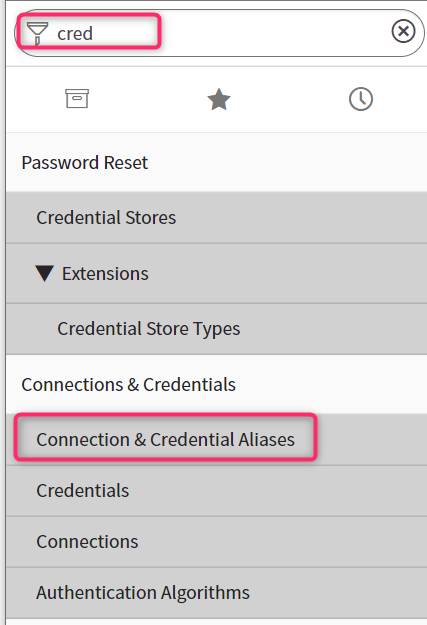
”Google Translation”を選択します。
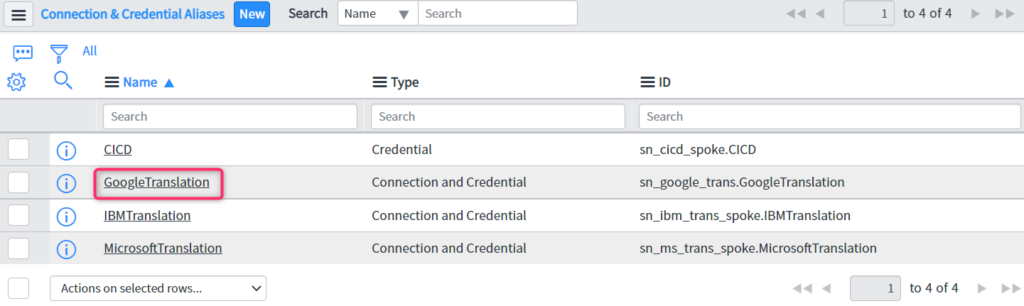
sn_google_trans.GoogleTranslation
sn_google_trans.GoogleTranslationが開かれます。
Connectionsタブ内の”Google”を選択します。

Attributesタブに以下を入力します。
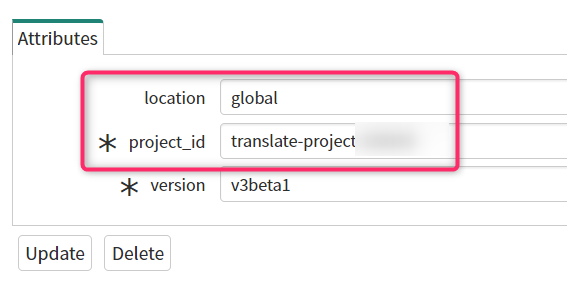
- [location]:global
- [project_id]:JSONファイルのproject_idを指定
- [version]:v3beta1 (デフォルト値のまま)
※project_idがわからない方はコチラに戻って確認してみて下さい。
入力後、Saveします。
[Credential]の右にある「!」をクリックします。
[OpenRecord]ボタンをクリックします。
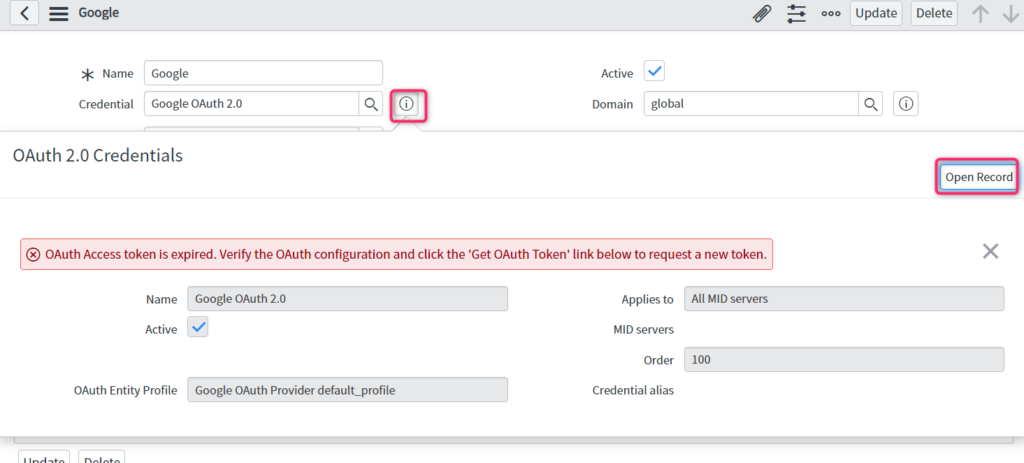
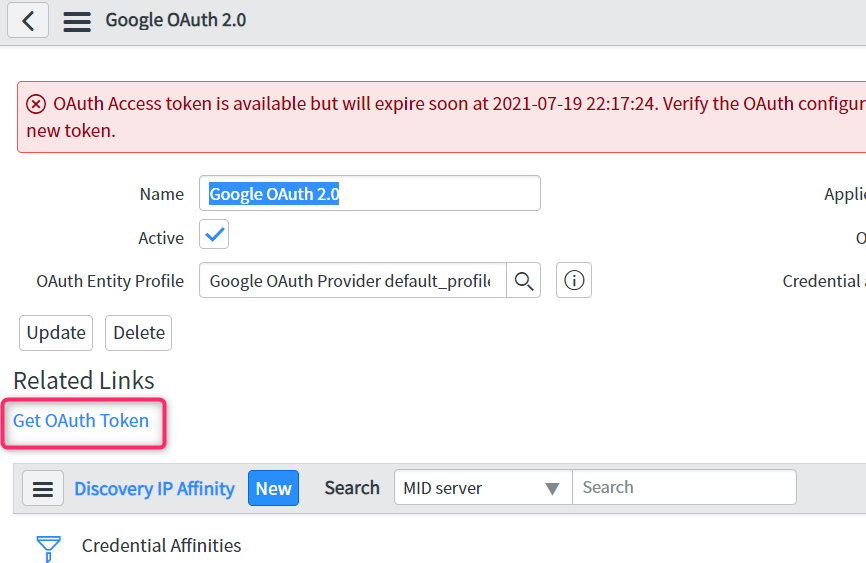
Google OAuth 2.0
Google OAuth 2.0の画面が表示されます。
[OAuth Entity Profile]の右にある「!」をクリックします。
[OpenRecord]ボタンをクリックします。
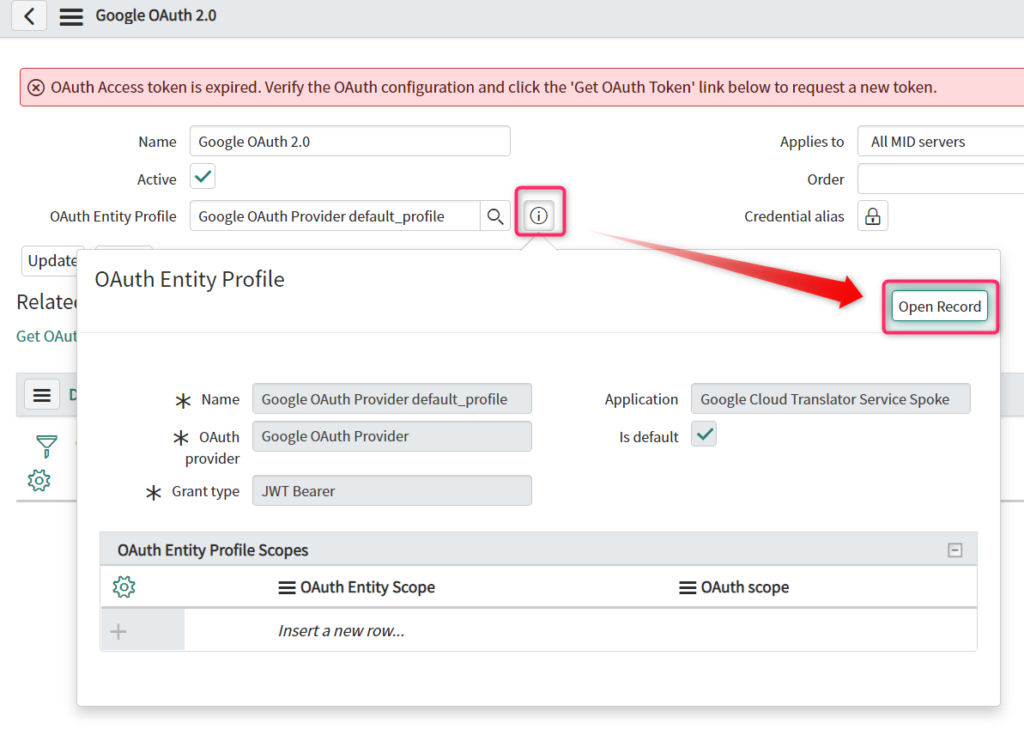
Google OAuth Provider default_profile
Google OAuth Provider default_profileの画面にてJWT Providerを指定します。
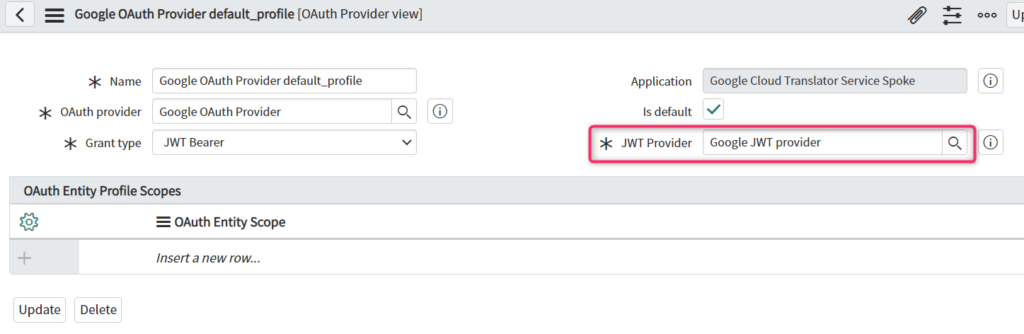
[JWT Provider]:”Google JWT provider”
[Update]ボタンをクリックします。
Google OAuth 2.0(再)
[Google OAuth 2.0]画面に戻り、Related Links(関連リスト)下の”Get OAuth Token”をクリックします。
別Windowで以下のような画面が表示されれば成功となります。
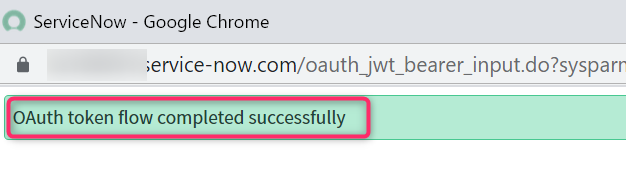
以上で設定は終了です。
まとめ
今回は、ServiceNowにてGoogleが提供するGoogle Cloud Platform の翻訳サービスを使用するための設定手順を解説しました。
これでServiceNowを使用した動的翻訳を行える準備が整いました。
次回
次回は、『Flow Designer』を使用して設定内容が正しいかを確認してみます。詳細は以下の記事を参考にしてみて下さい。
動的翻訳設定におけるまとめ記事は以下になります。


コメント